Hoe maak je een boekenhoekje: creatieve doe-het-zelftips onthuld
- Inleiding tot boekenhoekjes en hun charme
- Materialen en gereedschappen die nodig zijn voor het maken van een boekenhoek
- Stapsgewijze handleiding voor het maken van een boekenhoek
- Creatieve ideeën en inspiraties voor het personaliseren van uw boekenhoek
- Het presenteren en plaatsen van uw voltooide boekenhoek
Inleiding tot boekenhoekjes en hun charme
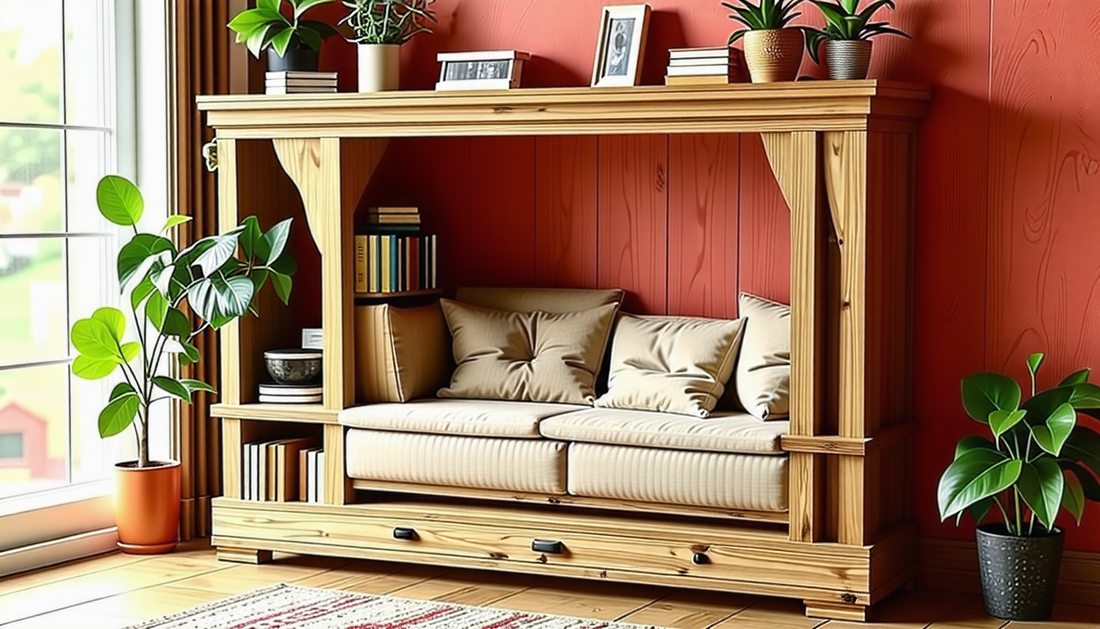
Als je een boekenliefhebber bent, is de kans groot dat je de magische wereld van boekenhoekjes bent tegengekomen. Deze miniatuurdiorama's, ontworpen om perfect in je boekenkast te passen, voegen een speelse toets toe aan elke boekencollectie. Zie ze als geheime werelden verscholen tussen boeken die je leesplek tot leven brengen. Of je nu van betoverde bossen, knusse bibliotheken of bruisende stadsstraten houdt, boekenhoekjes zijn een heerlijke ontsnapping.
De ware schoonheid van een boekenhoekje schuilt in het vermogen om een eigen verhaal te vertellen. Het gaat niet alleen om esthetiek – het gaat om de charme van het creëren van een klein droomlandschap dat persoonlijk aanvoelt. Veel mensen omarmen het creëren van hun eigen boekenhoekje als een ontspannende en vervullende hobby. Het mooiste is nog wel dat er geen goed of fout is bij het ontwerpen ervan. Je kunt je fantasie de vrije loop laten!
Het creëren van je eigen boekenhoekje klinkt misschien in eerste instantie intimiderend, maar maak je geen zorgen: het is makkelijker dan je denkt. Bovendien ben je met de juiste tools, materialen en een vleugje creativiteit al goed op weg naar een uniek meesterwerk. Laten we eens kijken hoe je een boekenhoekje maakt en alles ontdekken wat je moet weten om je creativiteit de vrije loop te laten!
Materialen en gereedschappen die nodig zijn voor het maken van een boekenhoek
Voordat je begint met het bouwen van je boekenhoek, verzamelen we eerst wat je nodig hebt. De juiste materialen en gereedschappen bij de hand hebben bespaart je tijd (en frustratie). Hoewel er kant-en-klare kits zijn zoals de Cutebee Magic Apotheker DIY Boekenhoek Kit die alles omvatten, kunt u ook individuele items verzamelen op basis van uw eigen ontwerp.
Hier is een basislijst om u op weg te helpen:
Essentiële materialen:
- Een houten of kartonnen doos die als frame voor de hoek dient
- Decoratieve elementen (figuren, meubels, bomen, boeken)
- LED-lampjes of lichtslingers voor het creëren van sfeer
- Verf, knutselpapier en lijm voor personalisatie
- Kunststofplaten voor ramen of spiegels (optioneel)
Aanbevolen hulpmiddelen:
- Stanleymes of precisiesnijder
- Verfkwasten of schuimkwasten
- Lijmpistool voor veilige hechting
- Snijmat ter bescherming van uw werkruimte
- Pincet voor het hanteren van kleine stukjes
Als het verzamelen van alles te veel voor u lijkt, kunt u kiezen voor sets zoals de Sherlock Holmes Detective Agency Book Nook Kit. Deze bevat alle benodigde onderdelen voor klassieke en kant-en-klare ontwerpen.
Stapsgewijze handleiding voor het maken van een boekenhoek
Nu komen we bij het spannende gedeelte: het bouwen van je boekenhoekje! Zo breng je je creatieve visie stap voor stap tot leven. Het draait allemaal om geduld en plezier, dus haast je niet.
Stap 1: Kies uw thema
Begin met het bepalen van een thema of verhaal dat je in je leeshoekje wilt vertellen. Wil je een rustig boslandschap? Een mysterieus steegje uit een Victoriaanse roman? Of misschien een knipoog naar sciencefiction? Voor beginners zijn er kits zoals de Scarbrough Hotel DIY Boekenhoek Kit bieden geweldige inspiratie en zijn eenvoudig aan te passen.
Stap 2: Monteer het frame
Gebruik je houten of kartonnen doos om de basisstructuur te maken. Meet zorgvuldig om ervoor te zorgen dat de doos goed op je boekenplank past. Lijm of punaise het frame vast voor extra stabiliteit.
Stap 3: Achtergronden en vloeren toevoegen
Verf of bekleed de binnenkant van de doos met kraftpapier om je achtergrond te creëren. Je kunt zelfs ontwerpen schetsen of foto's plakken om ramen, deuren of muren te simuleren.
Stap 4: Plaats decoratieve elementen
Begin met het toevoegen van miniatuurmeubels, beeldjes of rekwisieten. Je kunt kant-en-klare producten gebruiken of zelf iets maken met klei of gevonden materialen. Let op de details – die maken een enorm verschil!
Stap 5: Verlichting installeren
Verlichting verandert je boekenhoekje van schattig in magisch. Installeer ledstrips of lichtsnoeren om bepaalde plekken te accentueren en een gezellige gloed te creëren. Verberg draden met plakband of lijm voor een strakke look.
Zodra alle elementen op hun plaats zitten, laat je de lijm en verf drogen voordat je je voltooide boekenhoekje tentoonstelt. Dat is alles: je hebt officieel je eigen mini-meesterwerkje gemaakt!
Creatieve ideeën en inspiraties voor het personaliseren van uw boekenhoek
De mogelijkheden voor personalisatie zijn vrijwel eindeloos, maar hier zijn een paar creatieve ideeën om uw boekenhoekje helemaal uniek te maken.
1. Voeg kleine details toe
Soms zijn het de kleine dingen die de aandacht trekken. Voeg kleine boekjes, bloempotten of zelfs geschilderd metselwerk toe voor extra diepte. Overweeg om personages zoals miniatuurfiguurtjes toe te voegen om in één oogopslag een verhaal te vertellen.
2. Integreer Windows
Kunststof of glazen platen kunnen als "ramen" fungeren. Gebruik structuurfolie, mat plastic of zelfs doorschijnend papier om ramen met kaarslicht of een zacht maanlicht na te bootsen.
3. Experimenteer met thema's
Weet je niet waar je moet beginnen? Koop dan themapakketten zoals de Cutebee Nebula Rest Room DIY Book Nook Kit. Je kunt ze naar eigen inzicht aanpassen en verfraaien om iets unieks te creëren, terwijl je tegelijkertijd tijd bespaart.
Laat je fantasie de vrije loop. Een boekenhoekje is immers je toegangspoort tot een andere wereld – maak het zo magisch of realistisch als je wilt!
Het presenteren en plaatsen van uw voltooide boekenhoek
Gefeliciteerd, je hebt je boekenhoekje voltooid! Nu is het tijd om je kunstwerk te presenteren. De perfecte plaatsing kan niet alleen het hoekje zelf, maar ook je hele boekencollectie opfleuren.
Je boekenhoekje is ontworpen om op je boekenplank te plaatsen, precies tussen de boeken. Kies een plank die matig licht ontvangt voor optimale zichtbaarheid, maar waarvan de kleuren na verloop van tijd niet vervagen. Als de plank zich op ooghoogte bevindt, is dat nog beter – hij fungeert dan als een blikvanger!
Tips voor het tentoonstellen van uw boekenhoek:
- Combineer het met bijpassende boekgenres: een boekenhoekje in een magisch bos past bijvoorbeeld perfect bij fantasyromans.
- Kies planken met voldoende ruimte om schade aan kwetsbare onderdelen te voorkomen.
- Draai of verplaats uw boekenhoekje zo nu en dan om de charme ervan te vernieuwen of om het tijdens bijeenkomsten te accentueren.
Je boekenhoekje is meer dan alleen een knutselwerkje – het is een gespreksstarter, een tijdloze decoratie en een stukje creativiteit dat je persoonlijkheid weerspiegelt. Waarom zou je het bij één houden? Misschien raak je wel helemaal verslaafd aan het maken van deze kleine meesterwerkjes.
Je boekenplanken zullen nooit meer saai zijn met deze kleine stukjes fantasie, netjes weggestopt tussen je favoriete boeken. Nu je weet hoe je een boekenhoekje maakt, kun je aan de slag gaan en genieten van de magie!